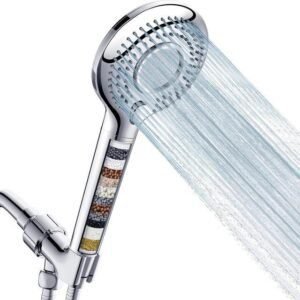
Are you looking to improve your shower experience with a shower head filter? Whether you want to protect your skin and hair from harsh chemicals or reduce chlorine levels in your water, a shower head filter is an excellent investment. In homes across the USA, water can contain chlorine, minerals, and other impurities that affect your daily routine, and a shower head filter can make a significant difference.
This guide walks you through installing a shower filter quickly and easily.
1. Gather the Tools You’ll Need
Before you start, make sure you have everything required. Most shower filter installations are simple and don’t need advanced tools:
- The shower filter kit
- Teflon tape (usually provided in the kit)
- An adjustable wrench (if needed for tightening)
2. Turn Off the Water Supply
While not always necessary, turning off the water can prevent accidental splashes or leaks during installation.
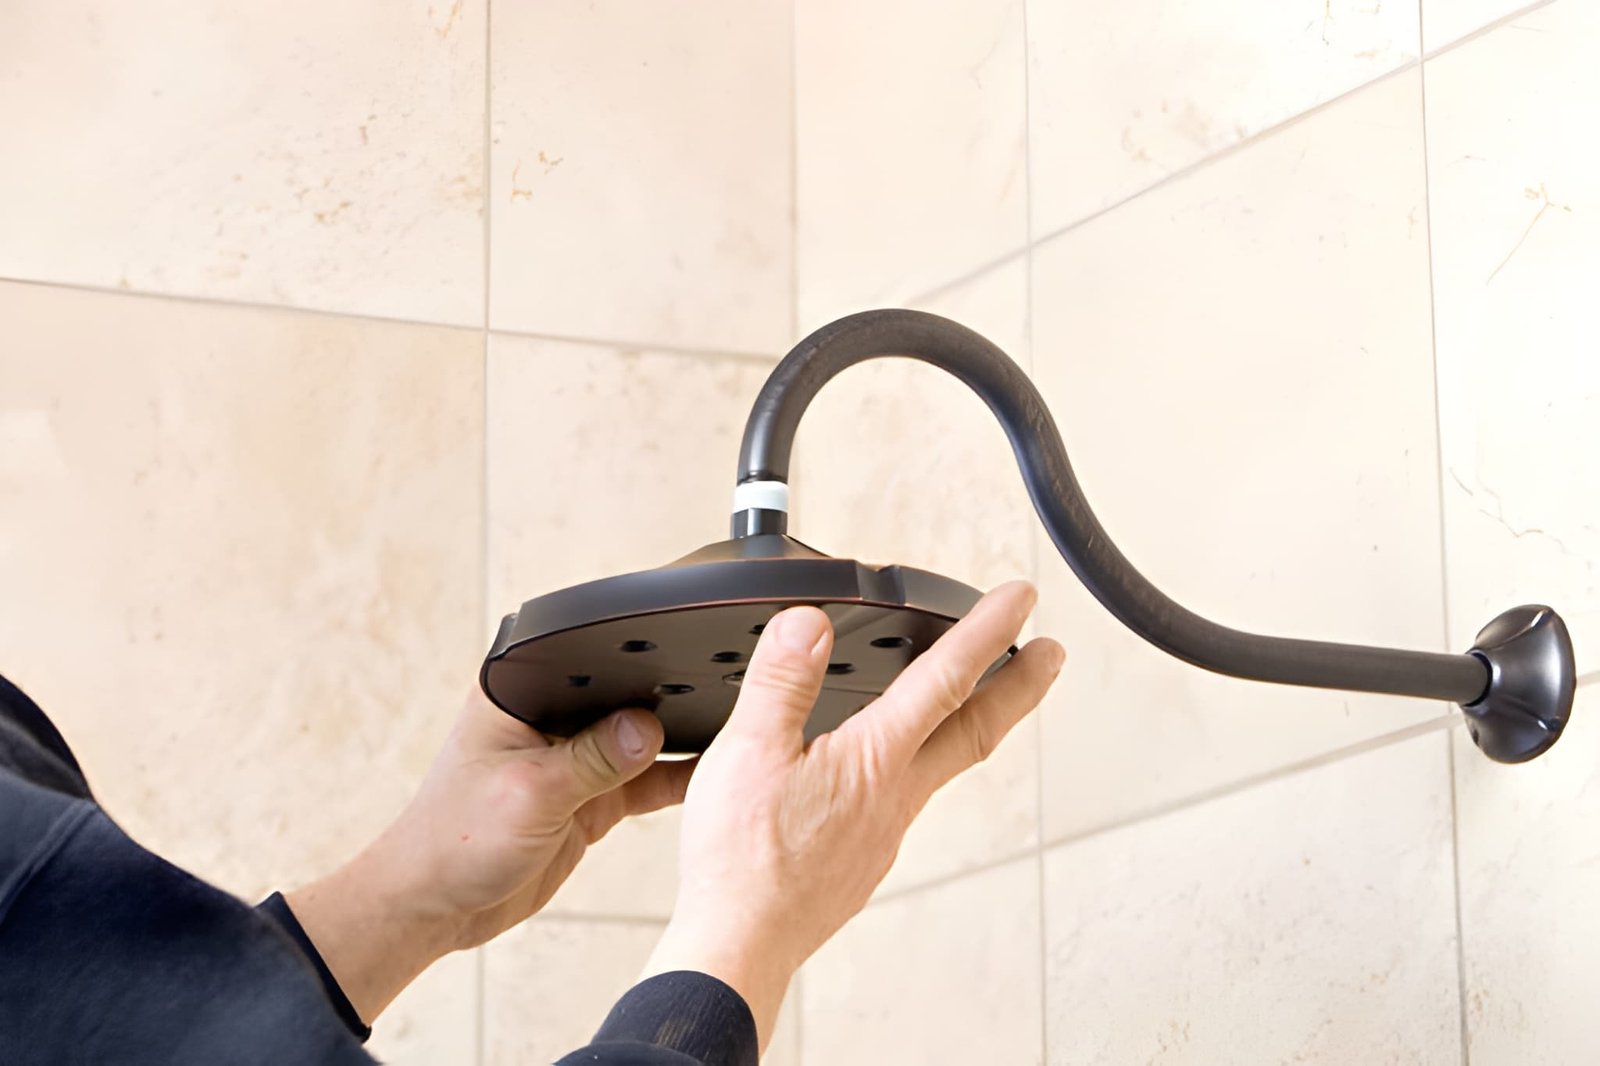
3. Remove the Old Shower Head
Unscrew your existing shower head from the shower arm by hand or with a wrench if it’s tight. Turn counterclockwise and be gentle to avoid damaging the threads. Clean off any residue or old Teflon tape from the shower arm.
4. Wrap the Shower Arm Threads with Teflon Tape
Teflon tape ensures a watertight seal between the shower arm and the filter. Wrap the threads two to three times to prevent leaks when attaching the filter.
5. Attach the Shower Filter
Screw the shower filter onto the shower arm where the shower head was attached. Follow the manufacturer’s instructions, as installation methods may vary. Hand-tighten the filter, then give an additional quarter turn with a wrench if necessary—avoid over-tightening.
6. Reattach the Shower Head
Screw your shower head onto the bottom of the filter. Hand-tighten and use a wrench for an extra quarter turn if needed. Again, avoid over-tightening to prevent damage.
7. Check for Leaks
Turn on the water and inspect the filter and shower head connections. If there are drips, turn off the water and tighten slightly or add more Teflon tape if needed.
8. Flush the Filter
Before using your filtered shower, flush the filter to remove any loose carbon or particles. Run water through it for 5–10 minutes, following the manufacturer’s instructions. This ensures the filter is ready for use.
Benefits of Installing a Shower Filter
Installing a shower filter in USA homes offers many advantages:
- Healthier Skin and Hair: Reduce dryness, irritation, and hair damage caused by chlorine and minerals.
- Chlorine Reduction: Protects skin and hair from the harsh effects of chlorine.
- Improved Water Quality: Enjoy cleaner, purer water free from impurities.
- Extended Shower Head Life: Reduces sediment buildup, prolonging the lifespan of your shower head.
Conclusion
Installing a shower filter is simple and can greatly enhance your daily shower experience. By following these steps, you can improve water quality and protect your skin and hair from chlorine and other impurities. For households in the USA, investing in a shower filter is a smart choice for healthier, more enjoyable showers.
Looking for high-quality shower filters in USA homes? Visit Blue Oasis Shower Filters today and explore our range of products designed to improve water quality and overall well-being.